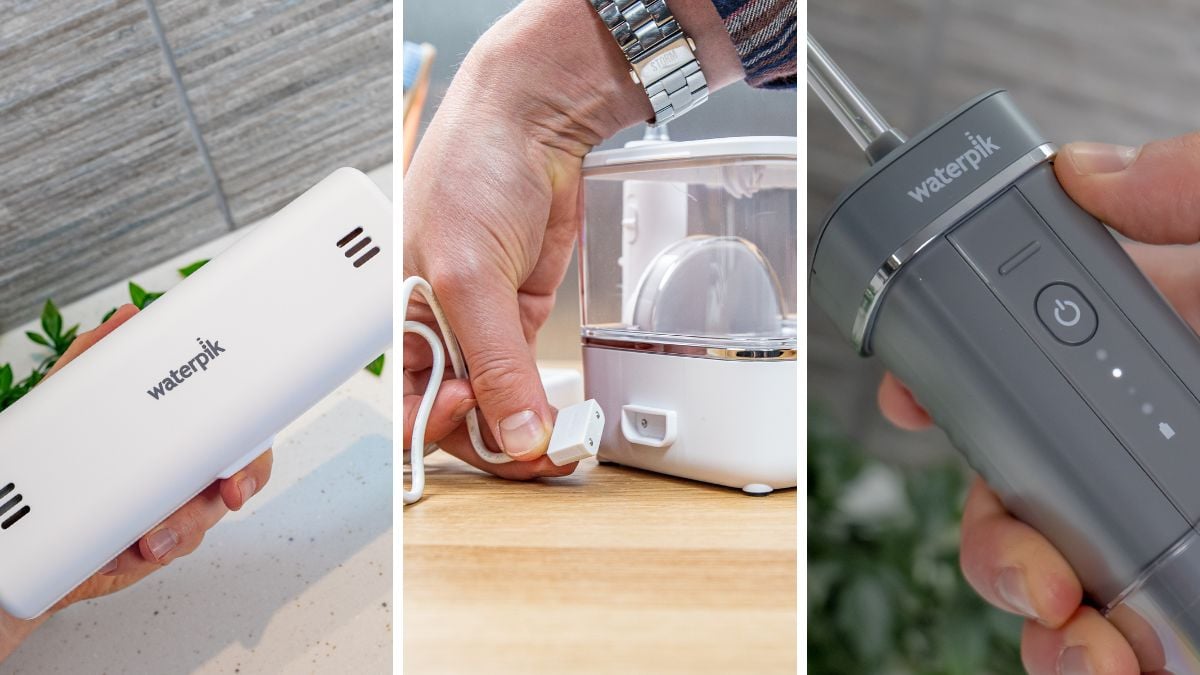
If your Waterpik is not working, first check the power source and ensure the device is properly connected. Clean the nozzle and water reservoir regularly.
Waterpik devices are fantastic tools for maintaining oral hygiene, but like any electronic device, they can encounter issues. Regular maintenance and troubleshooting can keep your Waterpik running smoothly. Start by ensuring the device is plugged in and receiving power. Check the outlet and adapter if necessary.
Cleaning the nozzle and water reservoir is essential to avoid clogs and maintain performance. If the device still doesn’t work, consult the user manual for further instructions or contact customer support. Proper care and timely troubleshooting can extend the lifespan of your Waterpik, ensuring it remains a reliable part of your oral care routine.
Credit: www.electricteeth.com
Introduction To Waterpik Troubleshooting
A Waterpik helps to maintain oral hygiene. It is a useful device. Yet, like any appliance, it can have issues. Knowing how to troubleshoot is important. This guide will help you fix common problems.
Why Troubleshooting Is Important
Troubleshooting saves time and money. You won’t need to call for help. Fixing minor issues yourself is easy. It ensures your Waterpik works properly. This keeps your teeth and gums healthy.
Common Issues With Waterpik
Waterpiks can have several common problems. Here are a few:
- Water pressure issues: Low pressure can affect cleaning.
- Leaking: Water leaking from the handle or base.
- Power problems: Device not turning on or off.
- Blockages: No water flow due to blockages.
| Issue | Possible Cause | Solution |
|---|---|---|
| Low Water Pressure | Clogged Tip | Clean or replace the tip |
| Leaking | Loose Connections | Tighten all connections |
| Power Problems | Battery Issues | Charge or replace batteries |
| Blockages | Debris in the Hose | Clear the hose |
Waterpik Not Powering On
Facing problems with your Waterpik not powering on can be frustrating. This guide will help you troubleshoot and fix the issue. Follow these steps to get your Waterpik working again.
Check Power Source
First, check the power source. Ensure the outlet works. Plug in another device to test the outlet. If the device powers on, the outlet is working. If not, try a different outlet. This will rule out any issues with the power source.
Examine Power Cord And Plug
Next, inspect the power cord and plug. Look for any visible damage. A frayed or broken cord can prevent the Waterpik from powering on. If you see any damage, replace the cord immediately.
Ensure the plug is fully inserted into the outlet. A loose connection can also cause power issues. Push the plug firmly into the outlet.
Check the connection at the base of the Waterpik. Make sure it is secure. Sometimes, the cord can come loose, causing power issues.
Low Water Pressure
Experiencing low water pressure with your Waterpik can be frustrating. This issue can affect the efficiency of your dental cleaning routine. Let’s go through some troubleshooting steps to fix this problem.
Clean The Reservoir
The reservoir is the main water storage component of your Waterpik. Sediments and debris can clog it, reducing water pressure.
- Remove the reservoir from the unit.
- Empty any remaining water.
- Rinse the reservoir with warm water.
- Use a mild soap if needed.
- Ensure no soap residue is left behind.
A clean reservoir ensures better water flow and pressure.
Inspect The Tip And Handle
The tip and handle are critical for water flow. Blockages here can also cause low pressure.
- Remove the tip from the handle.
- Check for any visible blockages or debris.
- Rinse the tip under warm water.
- Use a small brush to clean any buildup.
- Reattach the tip securely.
Next, inspect the handle:
- Look for any cracks or damages.
- Ensure the handle is tightly connected to the hose.
- Test the handle by running water through it.
A well-maintained tip and handle improve water pressure significantly.

Credit: flosmore.com
Water Leaks
Water leaks in your Waterpik can be annoying. They can also reduce its effectiveness. Fixing these leaks can extend your Waterpik’s life. Follow these simple steps to troubleshoot and fix the leaks.
Identify Leak Source
First, find where the leak is coming from. This step is crucial. Common areas include the reservoir and hose connections.
- Reservoir: Check for cracks or loose seals.
- Hose Connections: Inspect for loose or damaged parts.
If you find the source, you can proceed to fix it. If not, continue inspecting other parts.
Tighten Connections
Loose connections are a common cause of leaks. Make sure all connections are tight.
- Turn off and unplug your Waterpik.
- Check the hose connections.
- Use a wrench to tighten any loose parts.
Tip: Do not over-tighten. This can cause damage.
If the leak persists, consider replacing the O-rings. These are found in most connections and can wear out.
| Part | Action |
|---|---|
| Hose | Inspect and tighten connections |
| Reservoir | Check for cracks or loose seals |
| O-rings | Replace if worn out |
Following these steps can help you fix most leaks. Always handle parts with care to avoid further damage.
No Water Flow
Experiencing No Water Flow in your Waterpik can be frustrating. This issue can stem from several common causes. Follow these troubleshooting steps to get your Waterpik back to optimal performance.
Check For Blockages
First, ensure there are no blockages in the unit. Blockages can restrict water flow.
- Disconnect the water reservoir.
- Inspect the water inlet for debris.
- Use a small brush to clean the inlet.
- Rinse the water reservoir with warm water.
A clean water inlet ensures smooth water flow.
Ensure Proper Assembly
Incorrect assembly can also cause No Water Flow. Check each part carefully.
- Confirm the water reservoir is seated correctly.
- Make sure the tip is firmly attached.
- Check the control valve for proper setting.
Proper assembly guarantees the Waterpik functions as intended.
Waterpik Making Unusual Noises
Experiencing unusual noises from your Waterpik can be quite alarming. These noises can range from a soft hum to loud rattling. Understanding the source of these noises is crucial to maintaining your Waterpik. Here are some steps to troubleshoot and resolve these issues.
Inspect Motor
The motor is the heart of your Waterpik. If it makes unusual noises, it might be struggling. Start by unplugging the device. Then, look for any visible signs of damage or wear. If the motor looks fine, plug it back in. Turn it on and listen closely. A loud or high-pitched noise often means the motor is faulty. In such cases, contacting customer support is recommended.
Look For Loose Parts
Loose parts can cause your Waterpik to make strange noises. Check all connections and screws. Make sure they are tight and secure. Use a screwdriver if necessary. Pay attention to the water reservoir. Ensure it sits properly on the base.
Next, inspect the hose and handle. Look for cracks, leaks, or loose attachments. Replace any damaged parts immediately. Regular maintenance can prevent many of these issues.
| Component | Possible Issue | Solution |
|---|---|---|
| Motor | Unusual noise | Contact support |
| Water Reservoir | Not sitting properly | Reposition |
| Hose and Handle | Cracks or leaks | Replace parts |
Regular checks and maintenance are vital. It helps keep your Waterpik in top shape. Always follow the manufacturer’s guidelines.
Maintaining Your Waterpik
Maintaining your Waterpik is essential for its longevity and effectiveness. Regular care ensures optimal performance, keeping your oral hygiene routine efficient. Follow these steps to keep your Waterpik in top shape.
Regular Cleaning
Regular cleaning is crucial for your Waterpik. Clean the reservoir daily to prevent mold and bacteria growth. Fill the reservoir with warm water and mild soap. Use a soft brush to scrub the inside gently.
For a deep clean, use a mixture of water and white vinegar. Fill the reservoir with this solution and run the Waterpik for about 30 seconds. This helps remove mineral deposits and keeps the unit fresh.
Clean the tip by soaking it in a solution of water and hydrogen peroxide. Do this once a week to maintain hygiene.
Proper Storage
Proper storage is vital for your Waterpik. Store it in a cool, dry place. This prevents mold and bacteria growth. Ensure the unit is unplugged before storing.
Wrap the cord neatly to avoid damage. Keep the reservoir and tips in a clean, dry location. Avoid storing the Waterpik in humid areas like bathrooms. Proper storage extends the life of your device.
| Task | Frequency |
|---|---|
| Clean Reservoir | Daily |
| Deep Clean | Weekly |
| Tip Soak | Weekly |
Following these steps ensures your Waterpik stays clean and effective.
Credit: www.waterpik.com
When To Seek Professional Help
Waterpik devices are reliable, but sometimes issues occur. Knowing when to seek professional help can save time and effort. This guide helps you decide when to reach out for expert assistance.
Warranty And Repair Options
Most Waterpik products come with a warranty. It’s important to check the warranty period. Understanding what the warranty covers is essential. Here’s a quick overview:
| Product | Warranty Period | Coverage |
|---|---|---|
| Water Flossers | 2-3 years | Manufacturing defects, mechanical issues |
| Shower Heads | 1 year | Manufacturing defects, performance issues |
If your Waterpik device is under warranty, you may be eligible for free repairs or replacements. Always keep your purchase receipt and warranty details handy. This will make the repair process smoother.
Contacting Customer Support
If troubleshooting steps don’t work, it’s time to contact customer support. Waterpik offers several support options:
- Phone Support: Call their hotline for immediate assistance.
- Email Support: Send a detailed email describing the problem.
- Live Chat: Use the live chat feature on their website.
When contacting support, provide the following information:
- Product model and serial number
- Purchase date and place
- Description of the issue
- Steps you’ve already taken to troubleshoot
Having this information ready speeds up the support process. Expert help ensures your Waterpik device is back in working order quickly.
Frequently Asked Questions
How To Fix Waterpik Not Turning On?
Ensure the Waterpik is plugged in properly. Check the outlet for power. Replace the fuse or reset the circuit breaker if necessary.
Why Is My Waterpik Losing Pressure?
Clean the Waterpik tip and reservoir. Ensure all connections are tight. Regularly descale the unit to prevent buildup.
How To Clean A Clogged Waterpik?
Detach the tip and soak it in a vinegar solution. Rinse thoroughly with warm water to remove any debris.
What To Do If Waterpik Leaks?
Check for loose connections and tighten them. Replace any damaged O-rings or seals. Ensure the reservoir is properly seated.
Conclusion
Troubleshooting your Waterpik can be simple with the right steps. Always ensure regular maintenance for optimal performance. Addressing common issues quickly can extend your Waterpik’s lifespan. Refer to the user manual for specific guidance. Keep your Waterpik in top condition for the best oral care results.
Happy flossing!