To troubleshoot a Rain Bird Sprinkler System, check for power supply issues and inspect the valves for blockages. Ensure all connections are secure and free of debris.
A well-maintained sprinkler system ensures a lush, green lawn. Rain Bird systems are reliable but occasionally face issues. Common problems include power supply disruptions, valve blockages, and connectivity issues. Regular inspection and maintenance can prevent most issues. Begin by checking the power supply, as a disrupted connection can halt the entire system.
Next, inspect the valves for any debris or blockages that may impede water flow. Ensuring all connections are tight and secure can also resolve many common issues. By following these steps, you can keep your Rain Bird Sprinkler System running smoothly and efficiently.
Common Sprinkler System Issues
Rain Bird sprinkler systems are efficient and reliable. Yet, like any device, they can have issues. Understanding these problems helps in quick fixes. Below, we discuss some common sprinkler system issues.
Leaks And Clogs
Leaks and clogs are frequent in sprinkler systems. A leak can waste water and cause your lawn to flood. Look for wet patches in your yard. This will help find leaks. Clogs can stop water flow to your plants. Check the nozzles and pipes for dirt or debris.
- Inspect pipes and joints for leaks.
- Clear dirt from nozzles to avoid clogs.
- Replace damaged parts to fix leaks.
Low Water Pressure
Low water pressure affects sprinkler performance. Your plants may not get enough water. Look at the pressure settings first. Sometimes, the problem is with the main water supply. Check the main valve to ensure it is fully open.
- Check the pressure settings.
- Ensure the main valve is fully open.
- Inspect for any blockages in the pipes.
Uneven Water Distribution
Uneven water distribution can lead to dry spots. This is bad for your lawn’s health. Check the sprinkler heads. Ensure they are pointing in the right direction. Sometimes, adjusting the head solves the problem. Also, make sure the heads are level with the ground.
| Issue | Solution |
|---|---|
| Dry Spots | Check and adjust sprinkler heads. |
| Overwatering | Ensure heads are level with the ground. |
| Misalignment | Reposition heads for even coverage. |
By addressing these common issues, your Rain Bird sprinkler system will work efficiently. This ensures a lush, green lawn all year round.

Credit: www.youtube.com
Tools And Materials Needed
When dealing with a Rain Bird sprinkler system, having the right tools is crucial. This guide will help you understand what you need for effective troubleshooting. Here are the essential tools and materials you will need.
Basic Tools
Basic tools are necessary for any Rain Bird sprinkler system troubleshooting. These tools help with minor adjustments and repairs.
- Screwdrivers: Both Phillips and flat-head types are useful.
- Pliers: Needle-nose pliers are best for tight spaces.
- Wrenches: Adjustable wrenches for different sizes.
- Shovel: Useful for digging around sprinkler heads.
- Garden Hose: Check water pressure and flow.
Replacement Parts
Having replacement parts on hand can save time and effort. These parts ensure you can fix any broken components quickly.
- Sprinkler Heads: Keep spare heads for quick swaps.
- Nozzles: Different types for various spray patterns.
- O-rings: Essential for preventing leaks.
- Solenoids: Key for valve control and function.
- Control Valves: Ensure proper water distribution.
Safety Gear
Safety gear is important for protecting yourself while working on the sprinkler system. Always wear the appropriate gear to avoid injuries.
- Gloves: Protect your hands from sharp objects.
- Safety Glasses: Shield your eyes from debris.
- Knee Pads: Comfort while kneeling on hard surfaces.
Checking For Leaks
Ensuring your Rain Bird sprinkler system is free from leaks is essential. Leaks can waste water and affect your lawn’s health. This guide will help you identify and fix leaks in your system.
Inspecting Sprinkler Heads
Begin by checking each sprinkler head. Turn on the system and watch closely. Look for signs of water pooling around the heads. Ensure the heads pop up and retract properly. If a head is cracked or damaged, replace it.
Use a small brush to clean any debris from the nozzle. Clogged nozzles can cause uneven watering. Adjust the spray pattern to ensure it covers the intended area.
Examining Pipes And Fittings
Next, inspect the pipes and fittings. Walk along the sprinkler lines and look for wet spots. These could indicate a pipe leak. Check the fittings for tightness. Loose fittings can cause leaks.
If you find a leak in a pipe, use a repair clamp or replace the section. For fitting leaks, ensure they are properly sealed. Use plumber’s tape if necessary to secure the connection.
| Issue | Potential Cause | Solution |
|---|---|---|
| Pooling water | Cracked sprinkler head | Replace the head |
| Uneven spray | Clogged nozzle | Clean the nozzle |
| Wet spots along pipes | Pinhole leaks | Use repair clamp |
| Loose fittings | Improperly sealed connections | Use plumber’s tape |
By following these steps, you can keep your Rain Bird sprinkler system running efficiently. Regular maintenance will prevent water waste and ensure your lawn stays healthy.
Fixing Low Water Pressure
Are you facing low water pressure in your Rain Bird sprinkler system? This issue can cause uneven watering and dry spots on your lawn. Let’s explore some effective ways to fix this problem.
Adjusting Valves
First, check the main water valve. Ensure it is fully open. A partially closed valve can reduce water pressure.
Next, inspect the zone valves. Turn them to the fully open position. This ensures maximum water flow to each sprinkler head.
Cleaning Filters
Dirty filters can block water flow. Check the filters in your system.
- Turn off the water supply.
- Remove the filter from the valve box.
- Rinse the filter under running water.
- Reinstall the clean filter.
Clean filters improve water pressure.
Checking Water Source
Sometimes, the issue lies with your water source. Ensure your home’s water pressure is adequate.
- Check other faucets in your home.
- If pressure is low, contact your water provider.
- Consider installing a booster pump if needed.
A stable water source ensures consistent pressure in your sprinkler system.
Addressing Uneven Water Coverage
Uneven water coverage can harm your lawn. Identifying and fixing this issue is crucial. The most common causes are poorly adjusted sprinkler heads and incorrect sprinkler placement.
Adjusting Sprinkler Heads
Sprinkler heads need proper adjustment for even water distribution. Follow these steps to adjust them:
- Step 1: Locate the adjustment screw on the sprinkler head.
- Step 2: Use a small screwdriver to turn the screw.
- Step 3: Turn clockwise to decrease the spray radius.
- Step 4: Turn counterclockwise to increase the spray radius.
Ensure all sprinkler heads cover their designated areas.
Repositioning Sprinklers
Sometimes, sprinklers need repositioning for better coverage. Follow these steps:
- Step 1: Turn off the water supply.
- Step 2: Dig around the sprinkler head carefully.
- Step 3: Move the sprinkler head to the new position.
- Step 4: Reconnect the sprinkler head to the pipe.
- Step 5: Cover the hole with soil and turf.
- Step 6: Turn on the water supply to test.
Ensure the sprinkler head is level with the ground. This helps avoid tripping hazards and ensures proper spray patterns.
Credit: www.pro-sprinkler.com
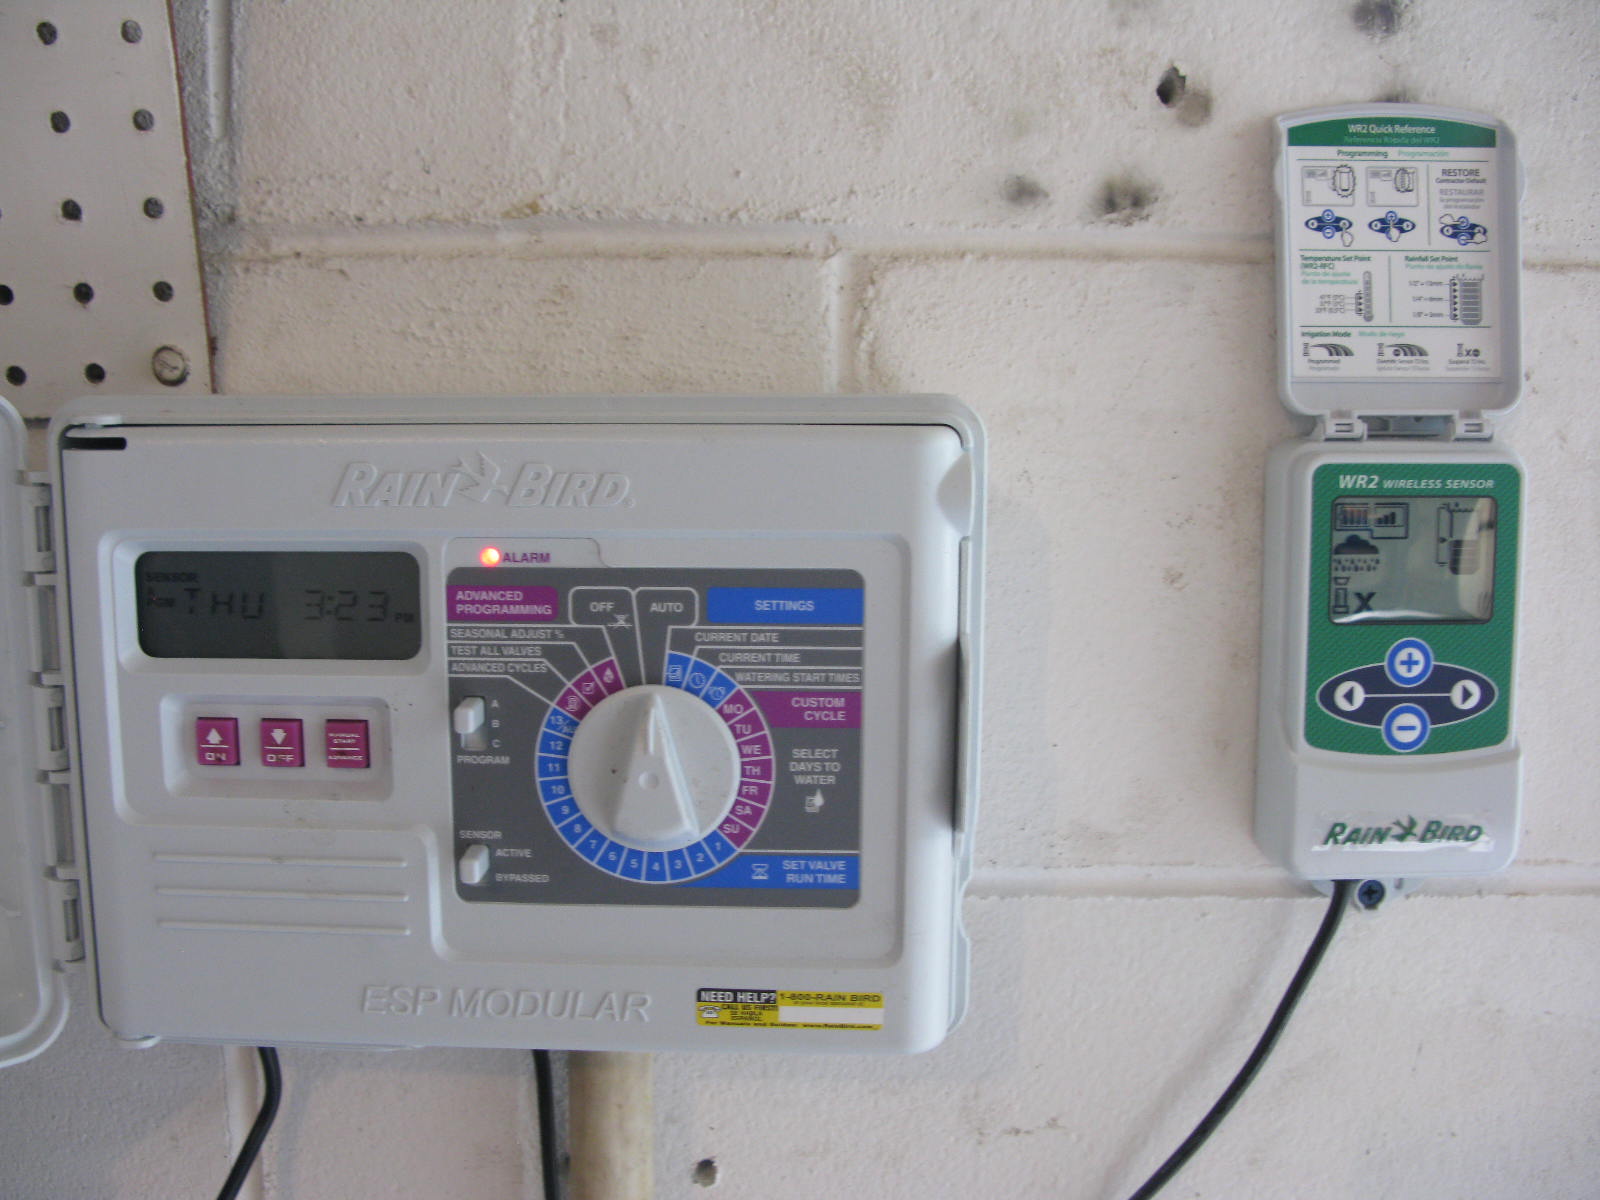
Programming The Controller
Programming the controller is crucial for your Rain Bird sprinkler system. It ensures your lawn and garden get the right amount of water. Follow these steps to set up the controller efficiently.
Setting Watering Schedules
Setting watering schedules is simple. Start by pressing the “Program” button on your controller. This will allow you to choose the days you want to water your lawn. Use the arrow keys to navigate through the days of the week.
You can also set specific times for watering. Enter the start time by pressing the “Start Time” button. Adjust the hours and minutes using the arrow keys. Make sure to set multiple start times if needed.
Avoid watering during peak sunlight hours. Early morning or late evening is best. This reduces water evaporation and ensures your plants absorb more water.
Adjusting Run Times
Adjusting run times is essential for efficient watering. Begin by pressing the “Run Time” button on your controller. This will let you set how long each zone will be watered.
For each zone, use the arrow keys to increase or decrease the run time. Typically, 10-15 minutes per zone is ideal. Adjust based on the needs of your plants and soil type.
Check the soil moisture regularly. If the soil is too wet or dry, adjust the run times accordingly. This helps in maintaining a healthy lawn and garden.
Below is a table to help you decide run times based on soil type:
| Soil Type | Recommended Run Time |
|---|---|
| Clay | 5-10 minutes |
| Loam | 10-15 minutes |
| Sand | 15-20 minutes |
Following these steps will ensure your Rain Bird sprinkler system runs efficiently. Proper programming helps in water conservation and keeps your lawn lush and green.
Seasonal Maintenance Tips
Maintaining your Rain Bird sprinkler system is crucial for its longevity and efficiency. Regular seasonal maintenance ensures your garden stays lush and vibrant year-round. Below are essential tips for winterizing your system and performing spring startup checks.
Winterizing The System
Winterizing your Rain Bird sprinkler system prevents damage from freezing temperatures. Follow these steps to prepare your system for winter:
- Shut off the water supply: Turn off the main valve to stop water flow to the system.
- Drain the system: Remove water from pipes using a manual or automatic drain valve.
- Blow out the system: Use an air compressor to clear remaining water from the lines.
- Insulate components: Wrap exposed pipes, valves, and backflow preventers with insulation material.
Spring Startup Checks
Spring startup checks ensure your Rain Bird sprinkler system operates efficiently. Follow these steps for a successful startup:
- Inspect the system: Check for leaks, broken heads, and damaged pipes.
- Clear debris: Remove dirt and debris from sprinkler heads and nozzles.
- Open the main valve: Slowly turn on the water supply to avoid pressure surges.
- Test each zone: Run each zone to ensure proper operation and coverage.
Address any issues immediately to prevent further damage. By following these seasonal maintenance tips, your Rain Bird sprinkler system will provide optimal performance throughout the year.
Credit: www.rainbird.com
When To Call A Professional
Even with the best DIY efforts, some Rain Bird Sprinkler System issues need expert intervention. Knowing when to call a professional can save time and prevent further damage. Here are key instances when professional help is crucial.
Identifying Major Issues
Certain problems with your Rain Bird Sprinkler System are significant and demand expert attention. These include:
- Leaking Valves: Persistent leaks can waste water and increase bills.
- Electrical Failures: Control panel issues need skilled technicians.
- Water Pressure Problems: Inconsistent water flow can damage plants.
- Broken Sprinkler Heads: Replace broken heads to ensure even watering.
Any of these issues can escalate if not addressed promptly. A professional can diagnose and fix the problem efficiently.
Cost-benefit Analysis
Hiring a professional might seem expensive initially. But consider the potential long-term savings:
| Issue | DIY Cost | Professional Cost | Potential Savings |
|---|---|---|---|
| Leaking Valves | $50 | $150 | Prevents higher water bills |
| Electrical Failures | $100 | $300 | Prevents system damage |
| Water Pressure Problems | $70 | $200 | Protects plants |
| Broken Sprinkler Heads | $20 | $100 | Ensures proper watering |
While DIY fixes might seem cheaper, professional services often provide lasting solutions. This minimizes the risk of recurring issues.
Frequently Asked Questions
How Do I Reset My Rain Bird Controller?
Press and hold the “Reset” button for 10 seconds.
Why Is My Rain Bird Sprinkler Not Turning On?
Check the power supply, fuses, and wiring connections.
How Can I Adjust My Rain Bird Sprinkler Head?
Twist the nozzle to adjust spray pattern and distance.
What Causes Low Water Pressure In Rain Bird Sprinklers?
Clogged nozzles, broken pipes, or faulty valves often cause low water pressure.
How Do I Fix A Leaking Rain Bird Sprinkler?
Replace the damaged seal or sprinkler head to fix leaks.
Conclusion
Troubleshooting your Rain Bird sprinkler system can be simple with the right guidance. Regular maintenance ensures optimal performance. Address common issues promptly to keep your lawn healthy. Utilize our tips to solve problems effectively. Enjoy a lush, green yard with a well-functioning sprinkler system all season long.